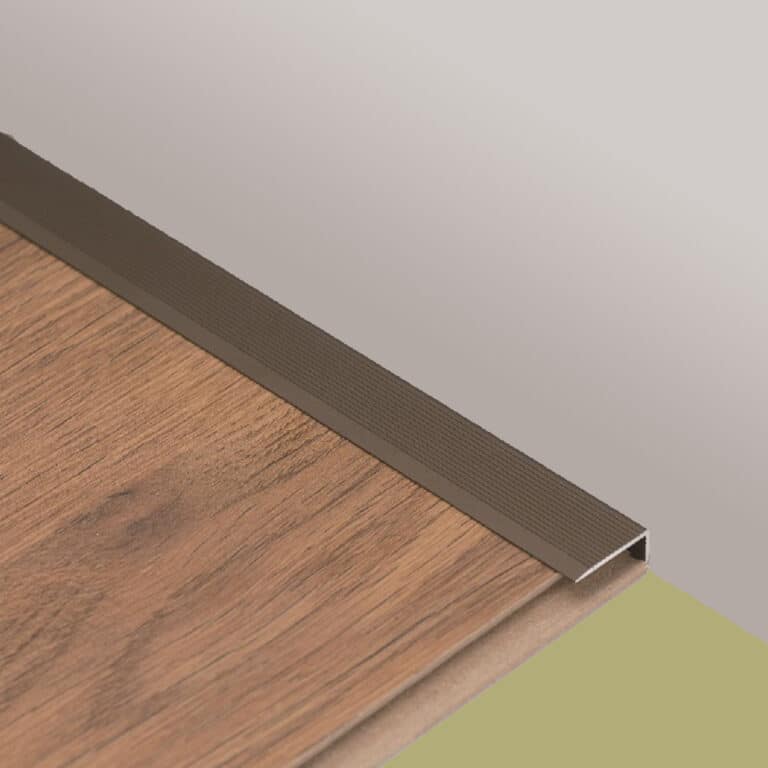
Description
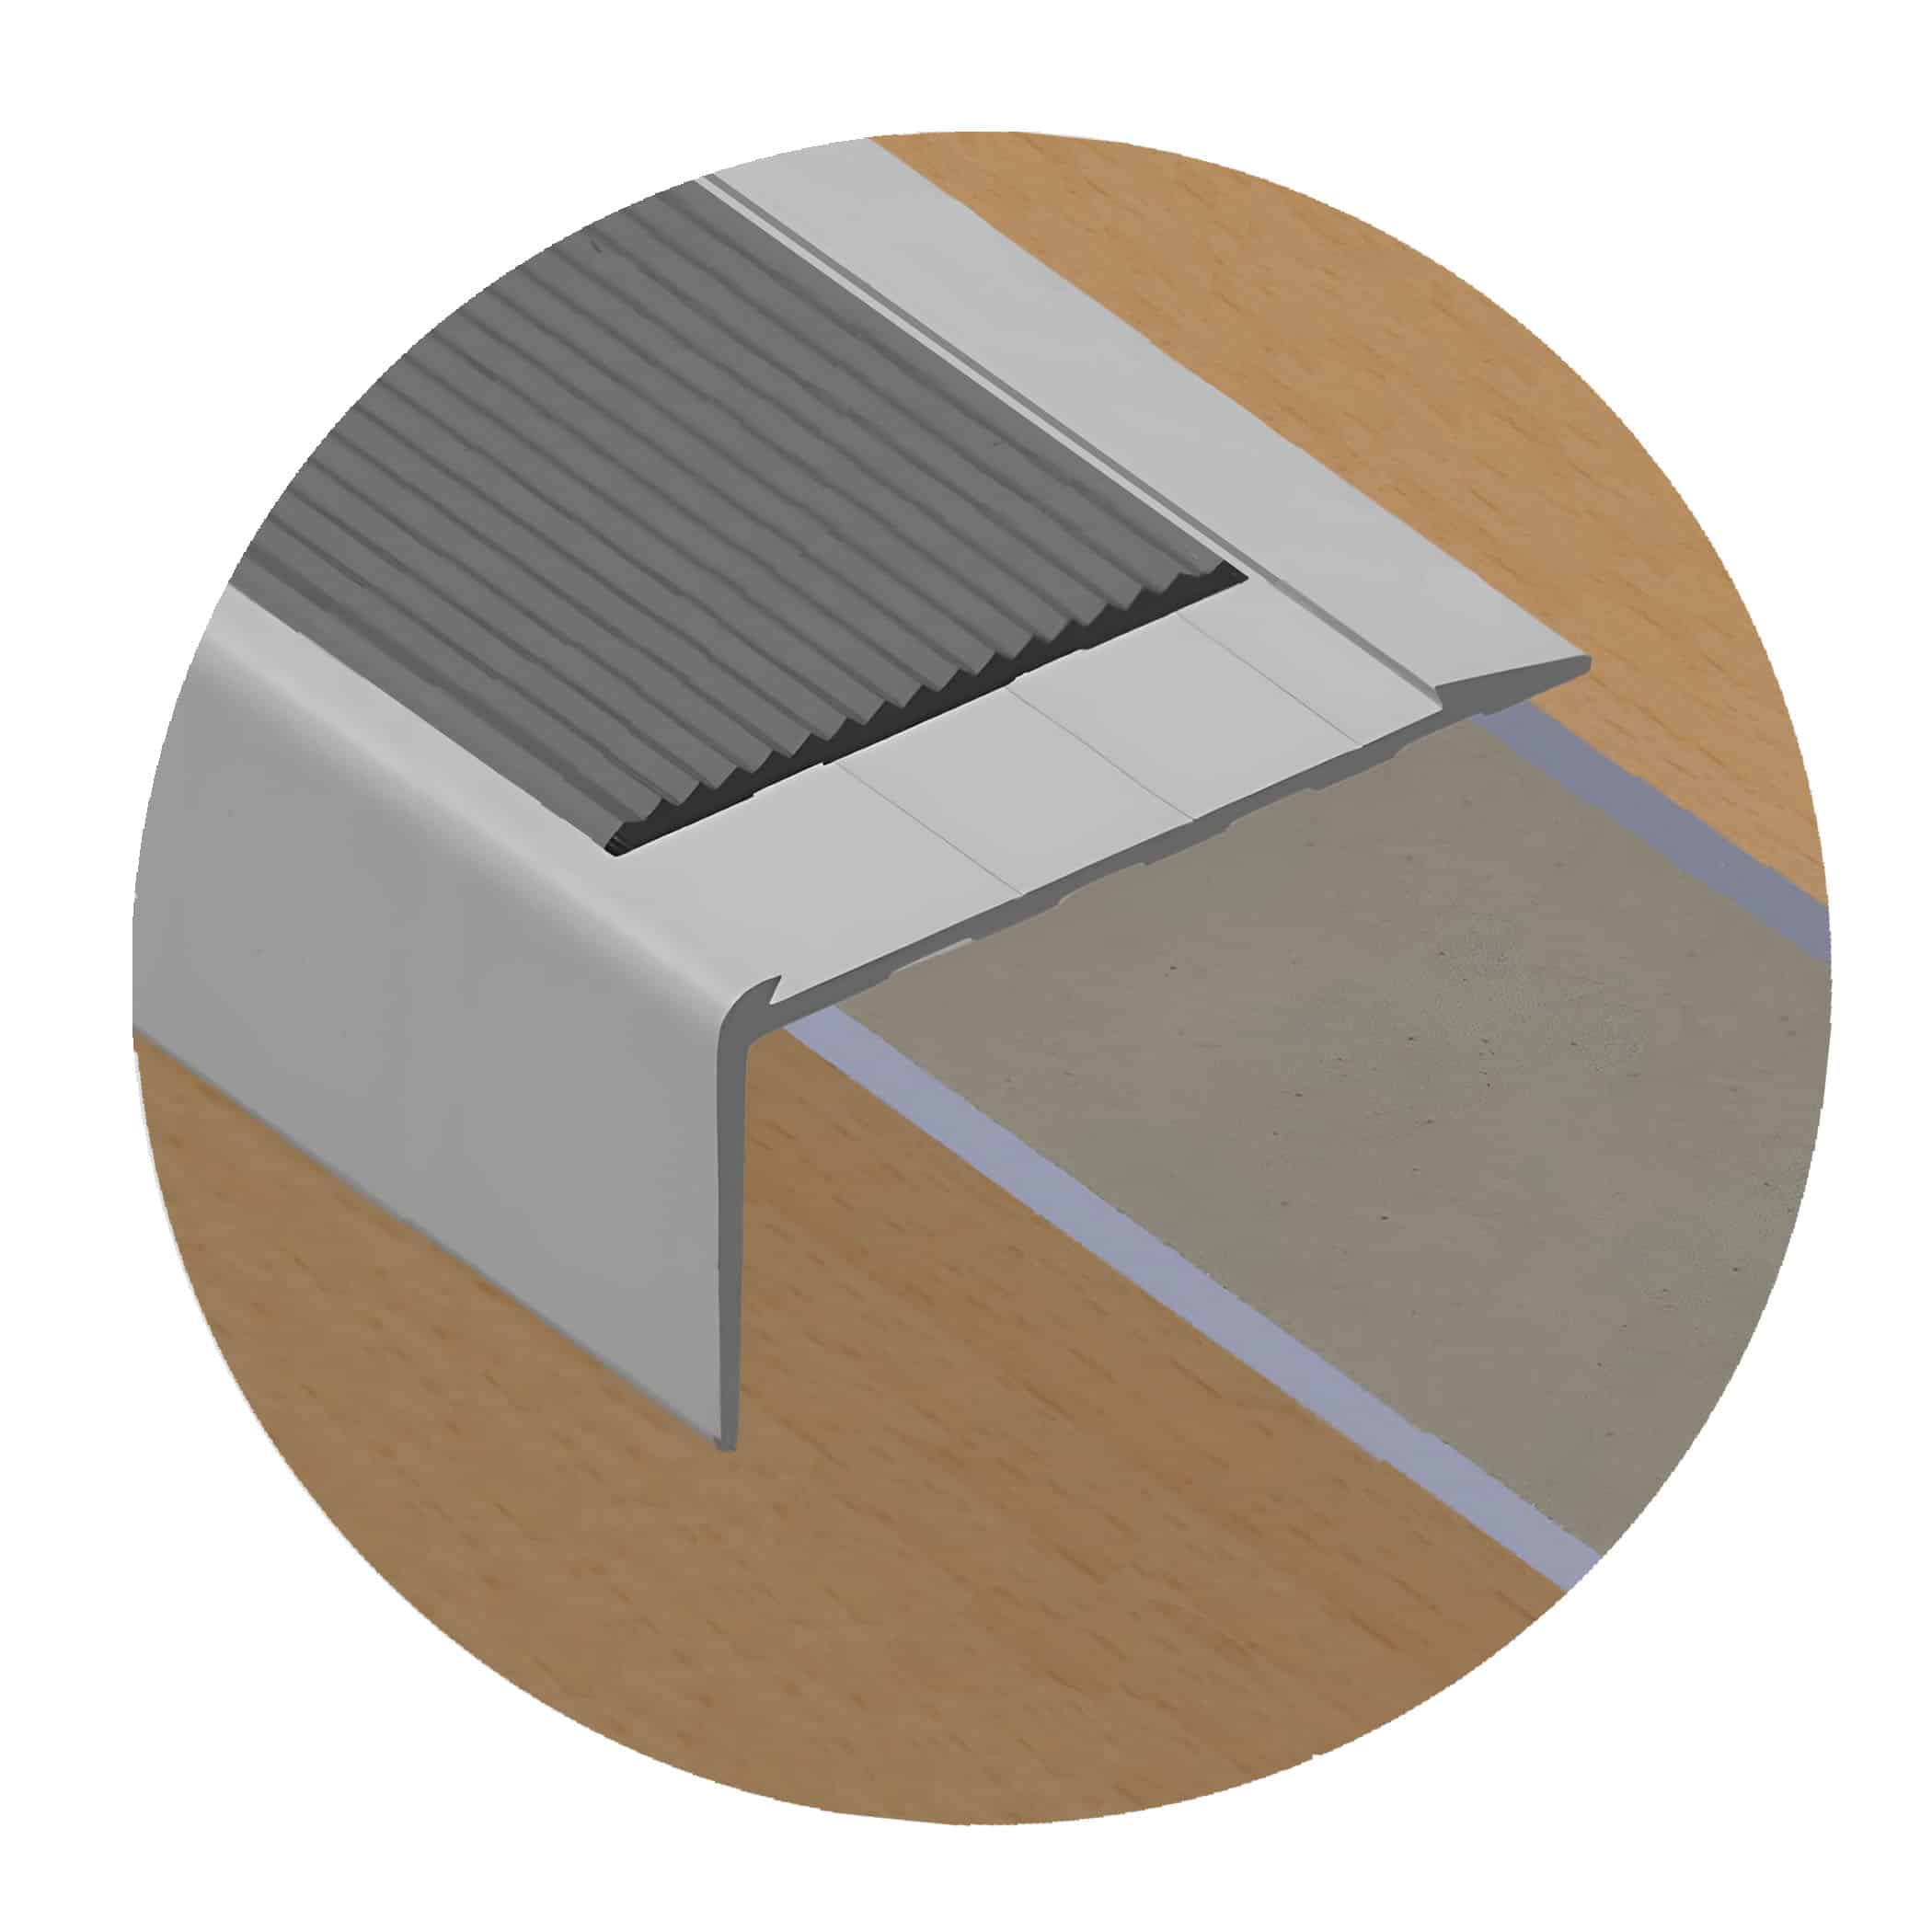
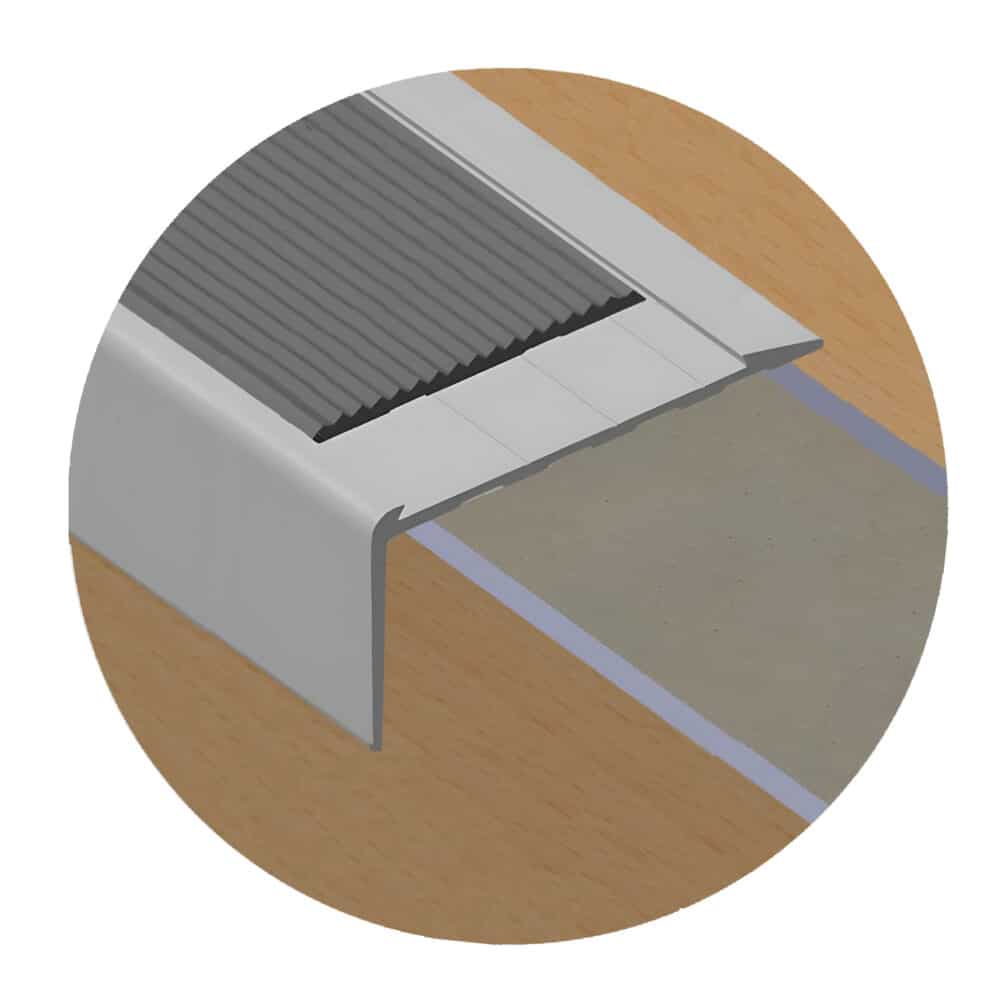
Retro fitting a stair nosing means working with a tread that already exists, and a long riser is what makes that possible: enough material down the face of the step to cover the existing edge rather than relying on a clean substrate.
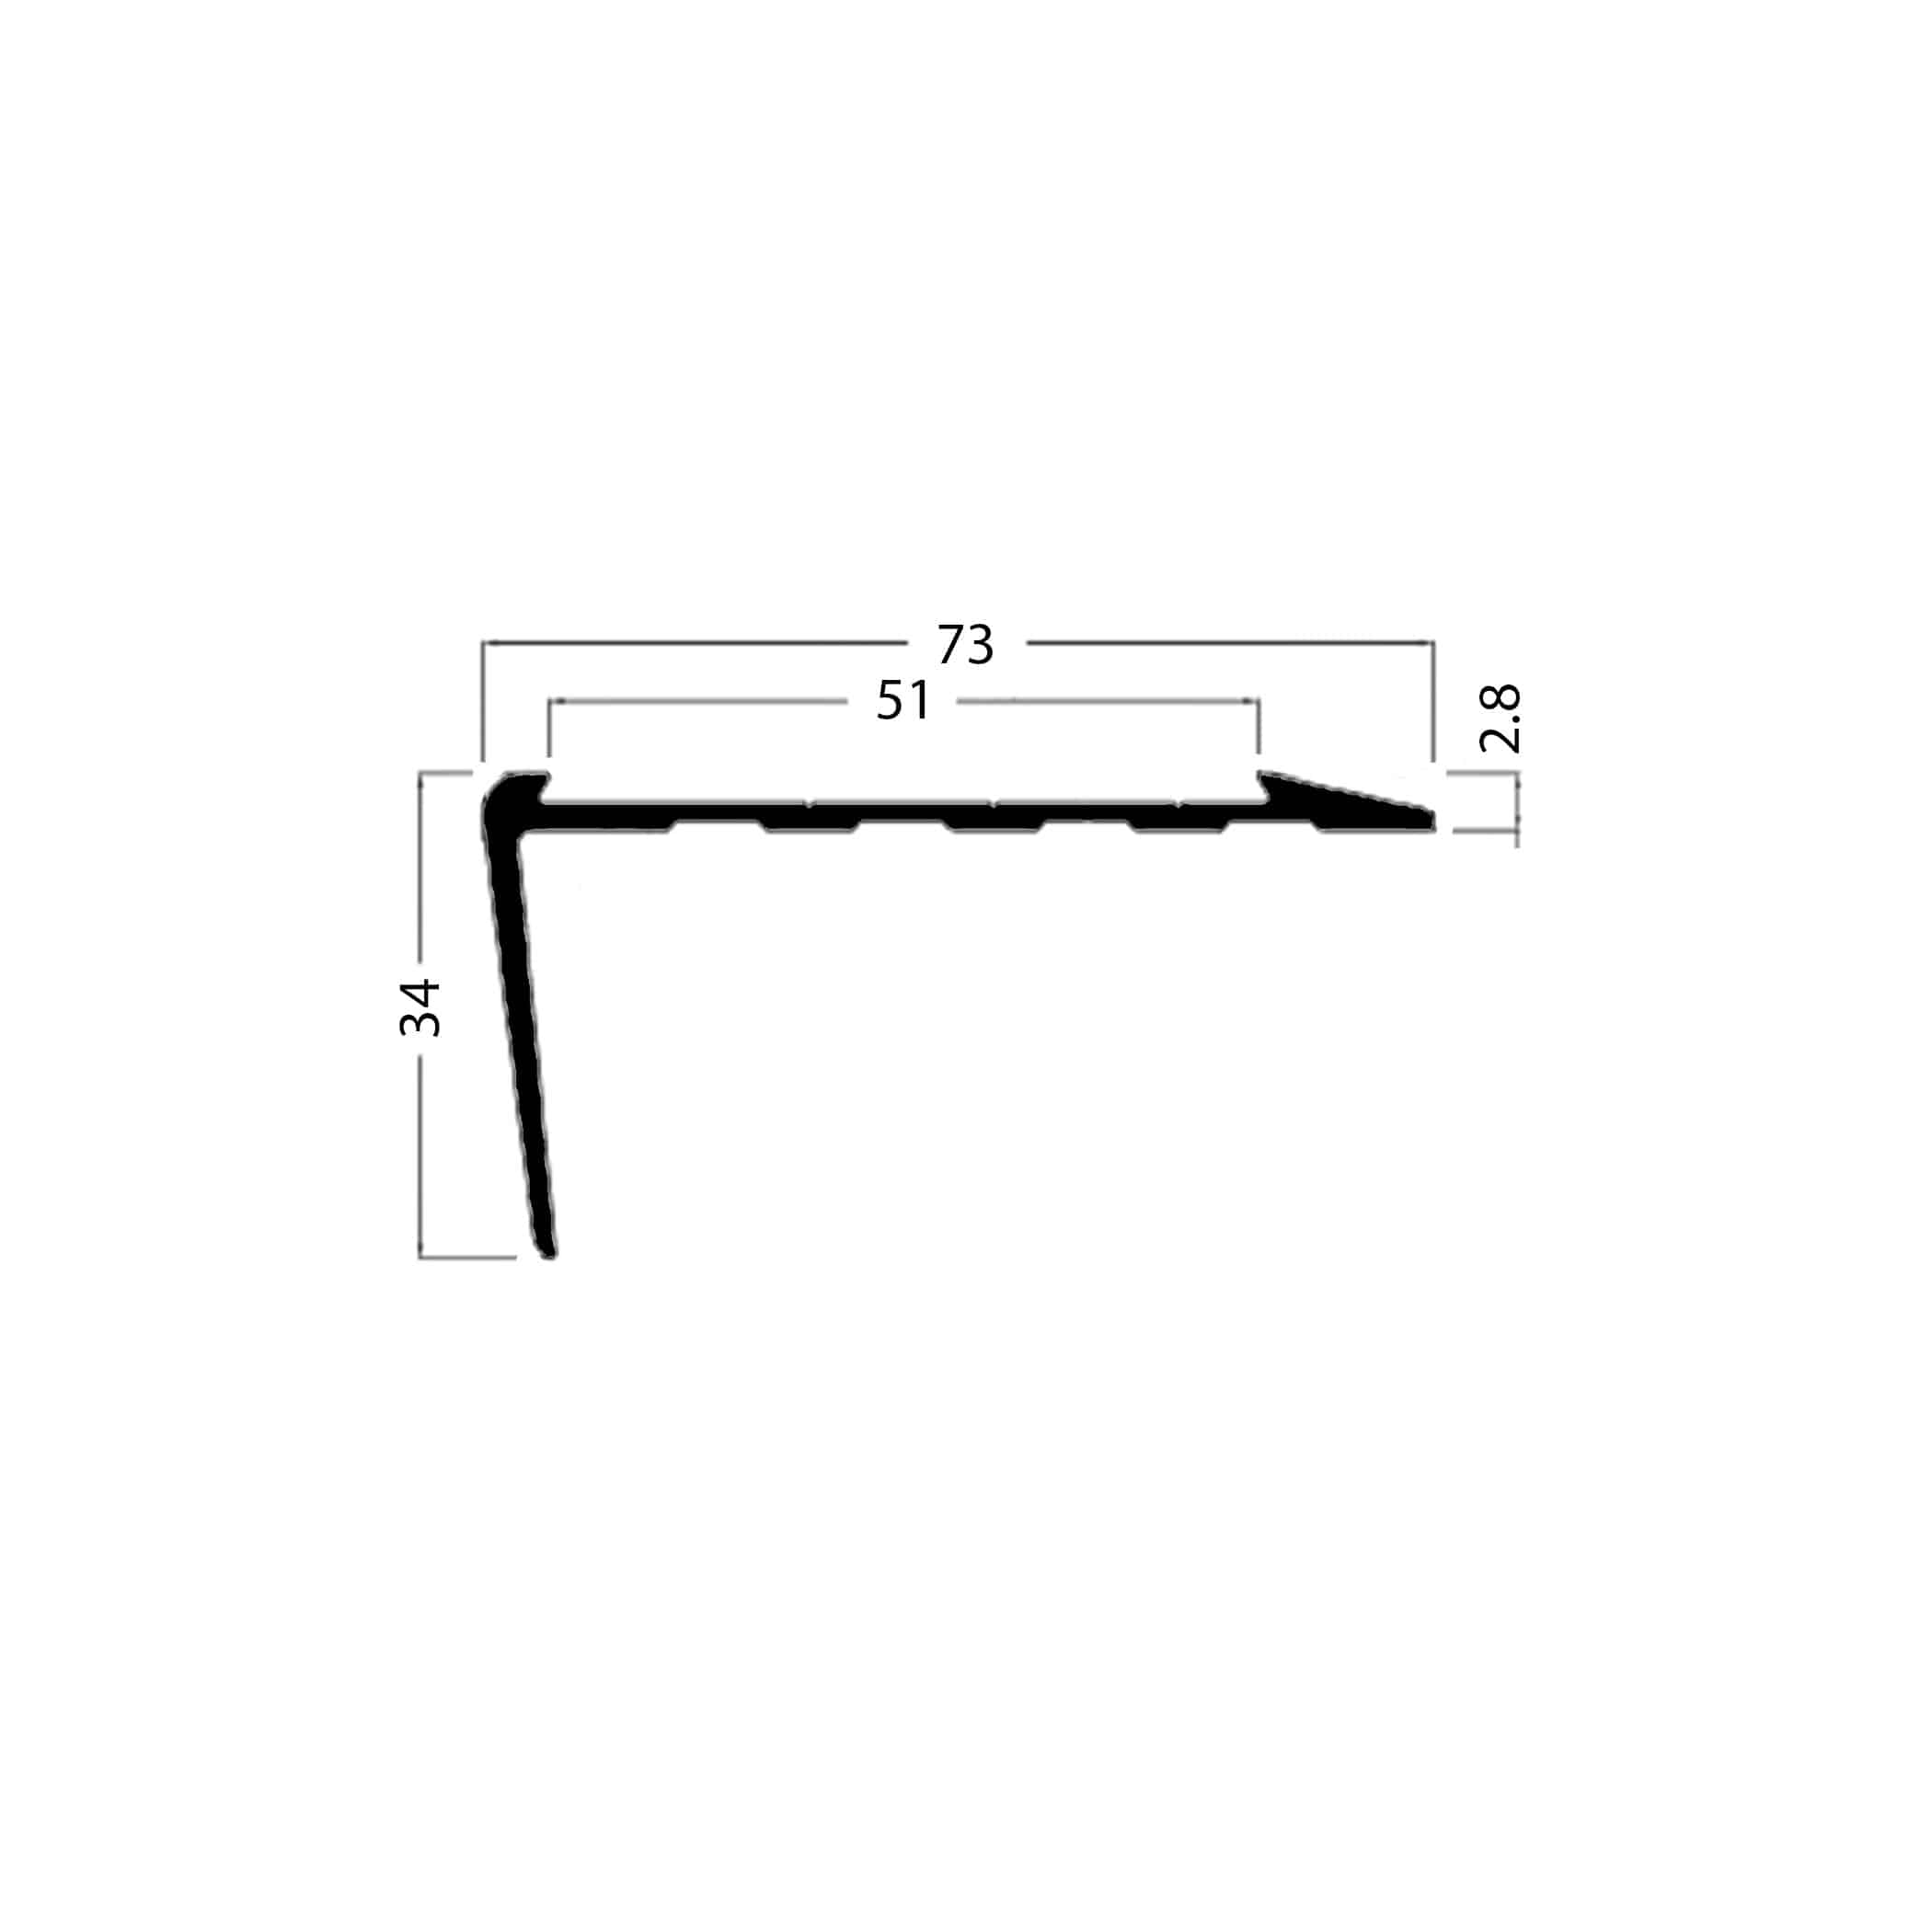
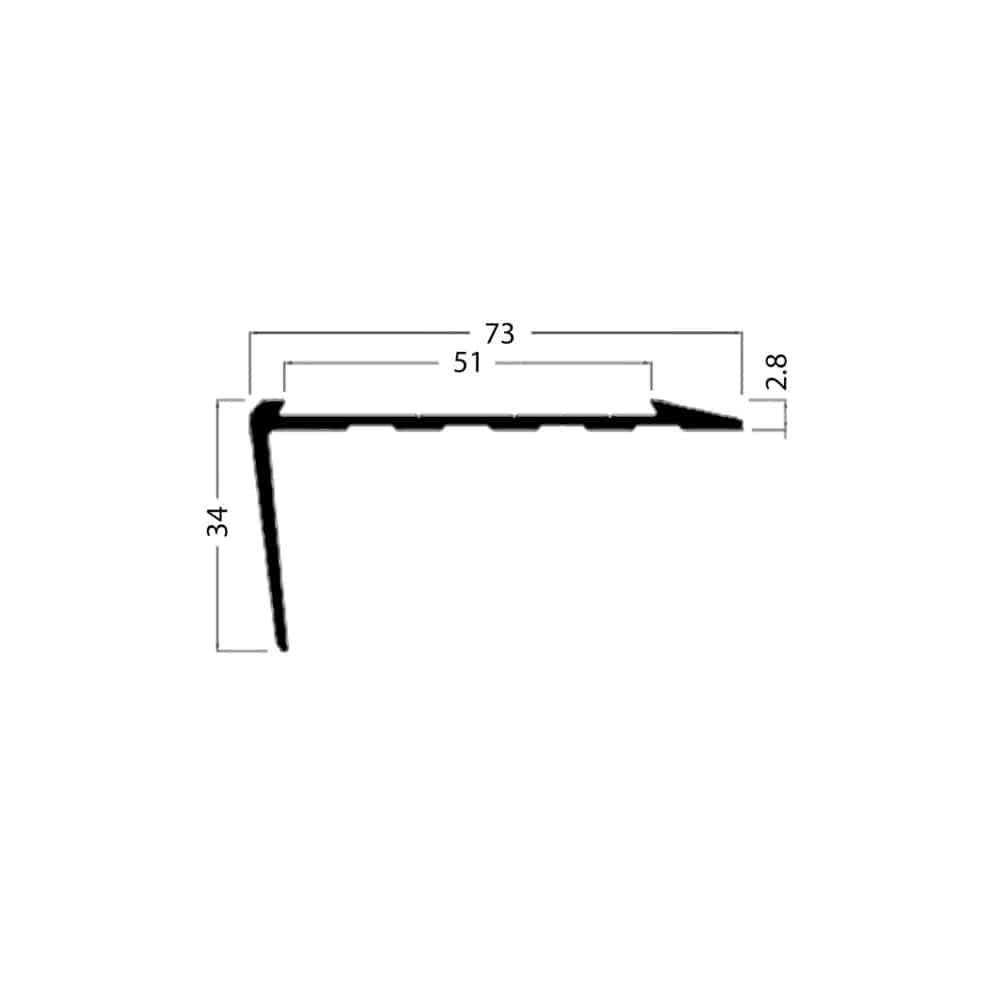
The MJ57 is a universal profile, 67 millimetres wide in 3.66 metre lengths, supplied drilled and countersunk at 220 millimetre centres. It takes a 50 millimetre insert, which is what carries the slip resistance.
Technical Specifications
| Product code | MJ57 |
|---|---|
| Profile | Universal stair nosing with long riser |
| Length | 3.66m |
| Width | 67mm |
| Insert channel | 51mm |
| Insert options | MJ152 aluminium, 50SI PVC, ASAT5020 anti-slip tape |
| Fixing | Supplied drilled and countersunk at 220mm centres |
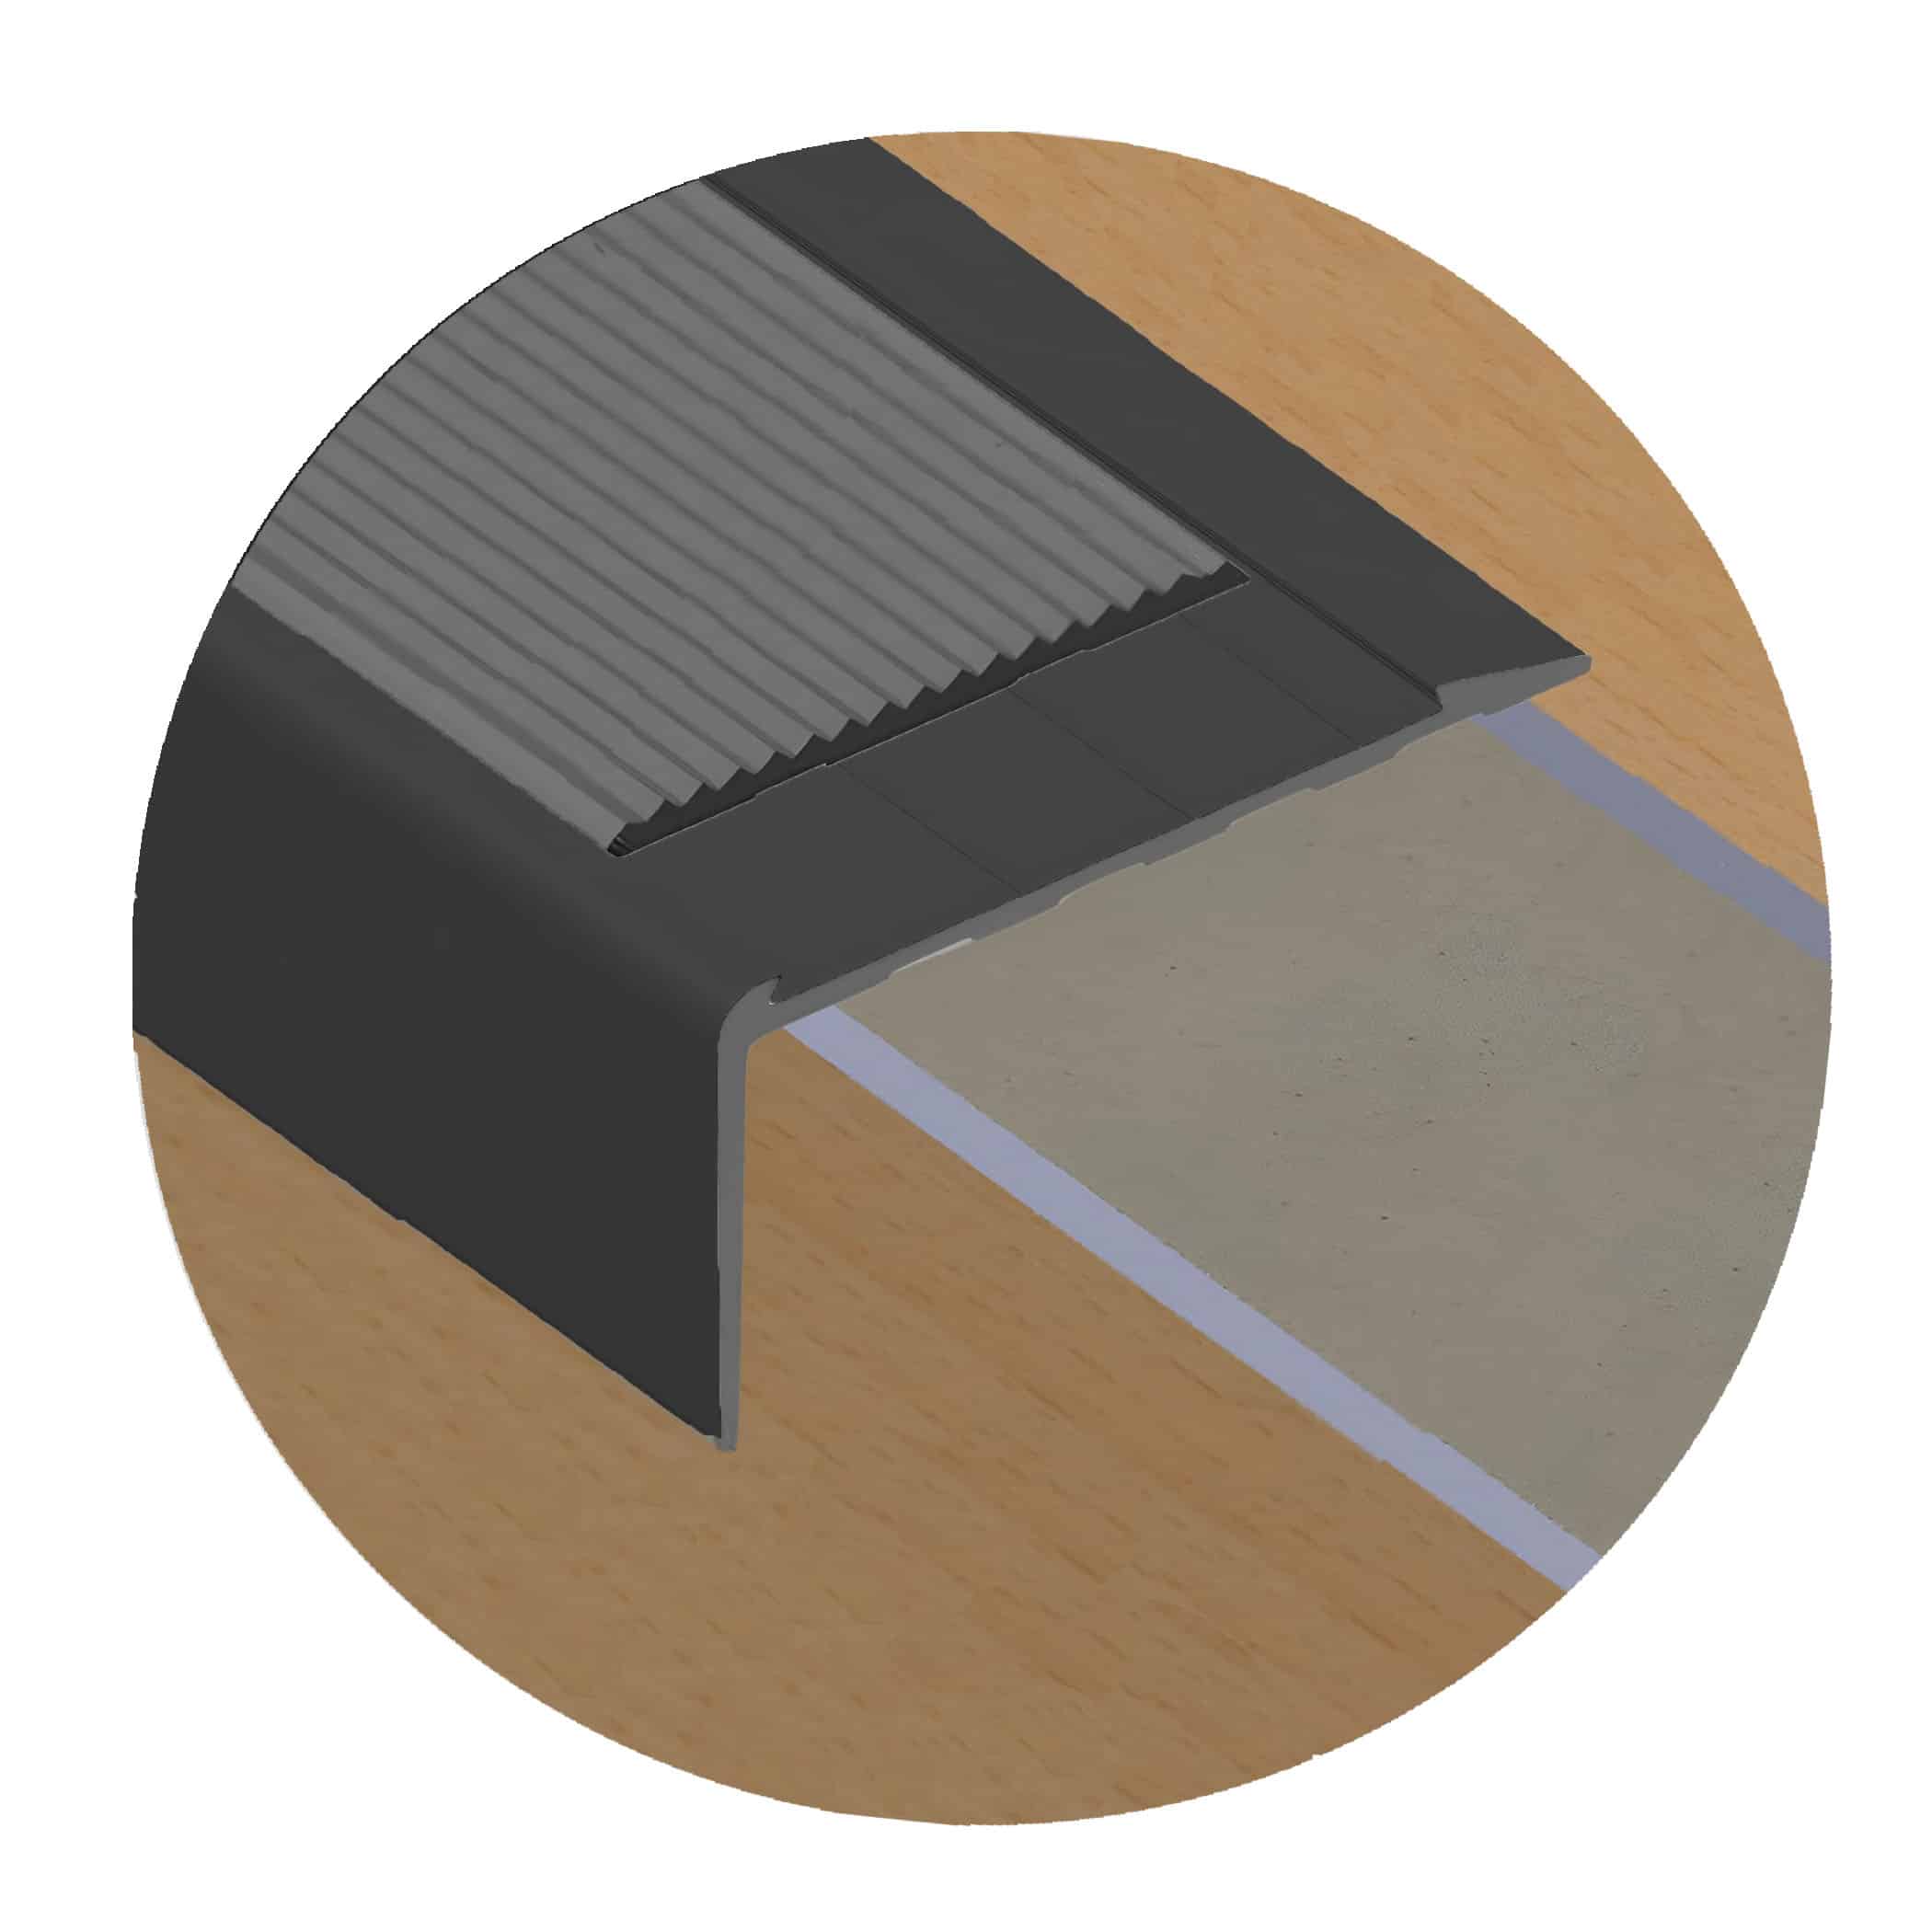
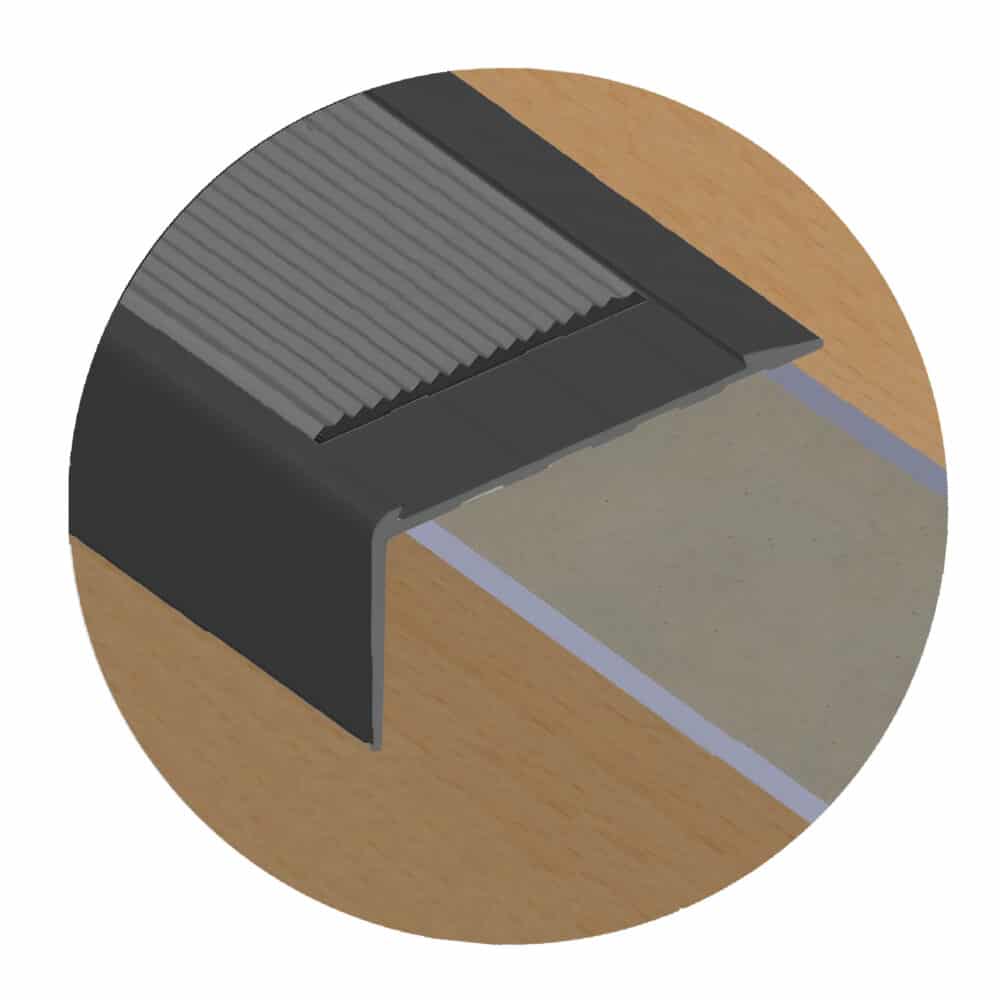
| Anodised finishes | Matt Silver, Matt Black |
| Compliance | Use with an insert for AS 4586:2013 |
| Protection | Visible surfaces foil protected, removed after installation |
Retro Fitting Versus New Installation
A new stair is built with the nosing in mind, so the tread and riser can be finished to suit it. Retro fitting means working with a step that already exists, with an edge that may be worn, chipped or out of square, and a covering already laid up to it.
The long riser is what makes that workable. The extra material down the face of the step covers the existing edge rather than requiring a clean substrate to finish against, which is the difference between a tidy refurbishment and rebuilding the stair.
Where to Use
- Retro fitting nosings to existing stairs
- Commercial stairs requiring slip resistance
- Refurbishment where the existing tread edge must be covered
- Stairs needing compliance with AS 4586:2013 via an insert
How to Apply
- Measure and cut: Cut the 3.66 metre length to the width of the tread.
- Position: Set the nosing so the long riser covers the face of the existing step.
- Fix: Fix through the pre-drilled countersunk holes at 220mm centres. Screws and plugs are sold separately.
- Fit the insert: Install the 50mm insert into the 51mm channel.
- Remove the foil: Peel the protective foil from the visible surfaces once installation is complete.
Important Notes
- Screws and plugs are sold separately.
- Slip resistance compliance under AS 4586:2013 comes from the insert, so the nosing must be fitted with one.
- Leave the foil protection on until the work around the stair is finished.