Description
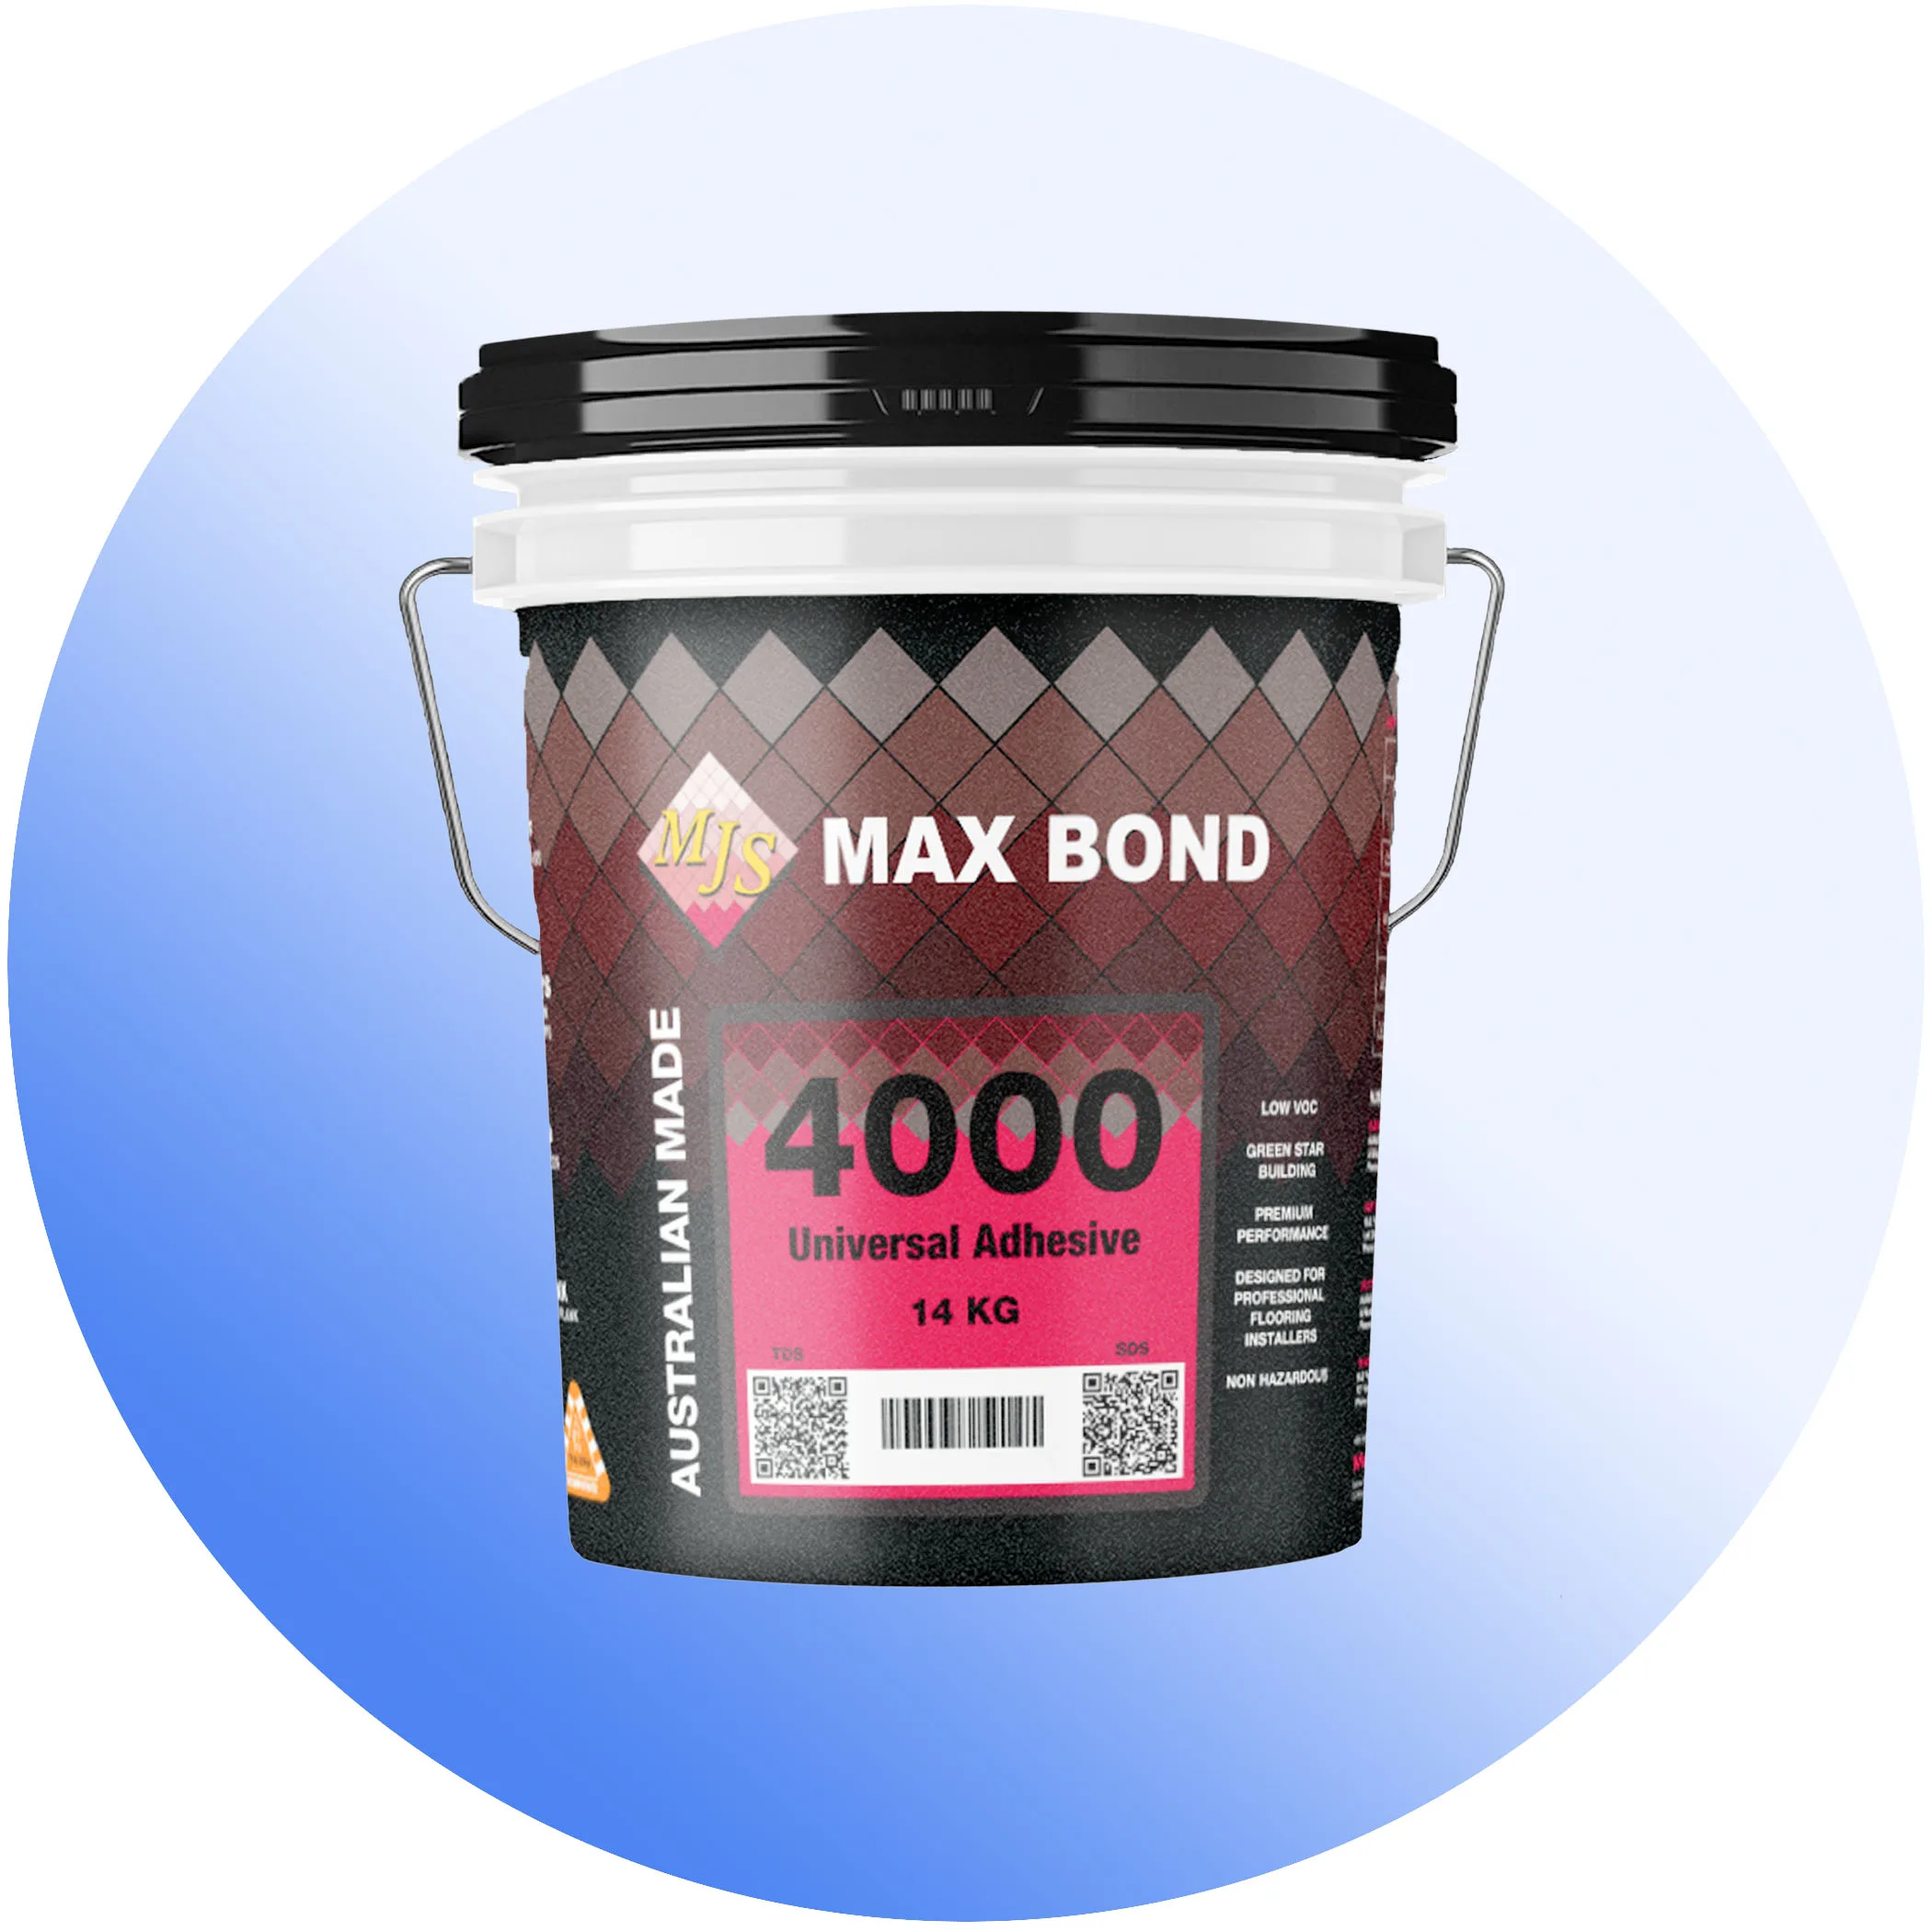
Max Bond 4000 is a high tack, high grab water-based adhesive built for LVT, linoleum and sanded-back sheet rubber flooring up to 4mm thick, striking a genuine balance between open time and working time that suits both smaller repair jobs and larger installations. Its dual wet or semi-wet application modes give real flexibility on site — full wet-bed application for maximum initial grab, or semi-wet with flattened trowel notches where trowel-line show-through through the top flooring is a concern.
Once installed, it develops a genuinely tough, hard-set bond over time, though it starts out very tacky — a deliberate design choice that gives an installer working room during placement before the bond fully hardens. For jobs specifically needing a faster hard-set, MJS recommends its sister product, MAXBOND ENVIRO 2012, rather than trying to rush 4000’s cure.
Technical Specifications
| Appearance | Cream / white |
|---|---|
| Base | Polymer blend |
| Solids content | Approx. 71% |
| Viscosity | Creamy paste |
| Freezability | Do not freeze |
| Minimum subfloor temperature | 10°C |
| Shelf life | 12 months from production, unopened, out of sunlight |
| Packaging | 14kg pail |
Where to Use
- Dimensionally stable PVC sheet vinyl, including LVP
- Linoleum and sanded-back sheet rubber flooring up to 4mm thick
- Textile floorcoverings with common backings
- Indoor applications only
How to Apply
- Prime if needed — apply Max Bond Primer to highly absorbent wooden or concrete subfloors first.
- Test moisture and pH — per AS/NZ Standard 1884 before priming or installing.
- Apply the adhesive — spread evenly; flatten trowel notches if using semi-wet mode.
- Lay the flooring — press into the adhesive bed and roll in both directions within an hour of installation.
- Maintain consistent temperature — 48 hours before, during and 48 hours after installation.
Important Notes
- For indoor use only.
- Always carry out a site test to confirm suitability with the specific installation.
- Clean wet adhesive immediately with a wet cloth; dried adhesive needs a solvent cleaner (confirm suitability with the flooring manufacturer first).
< Choosing between wet and semi-wet mode really comes down to the flooring's backing: smoother, less absorbent backings often suit the semi-wet method with flattened trowel notches, while more absorbent backings can take full wet-bed application without trowel lines becoming a visible problem. Maintaining consistent temperature for the full 48-hour window before and after installation is a detail that's easy to overlook on a job with heating or cooling cycled on and off, but it genuinely affects how reliably the adhesive cures. Running a small test area first, as the manufacturer recommends, is a genuinely worthwhile five minutes on an unfamiliar substrate, catching a compatibility issue before it affects an entire room.
The distinction between wet and semi-wet application isn’t just a preference — it changes what the installer needs to watch for during the job. In wet mode, the priority is pressing flooring into a fully wet bed and rolling promptly for good transfer; in semi-wet mode, the priority shifts to flattening trowel ridges before laying so they don’t telegraph through a thinner or more flexible top flooring. Matching the mode to the specific flooring product, rather than defaulting to one method for every job, is what the manufacturer’s guidance is really asking installers to do.