

Description
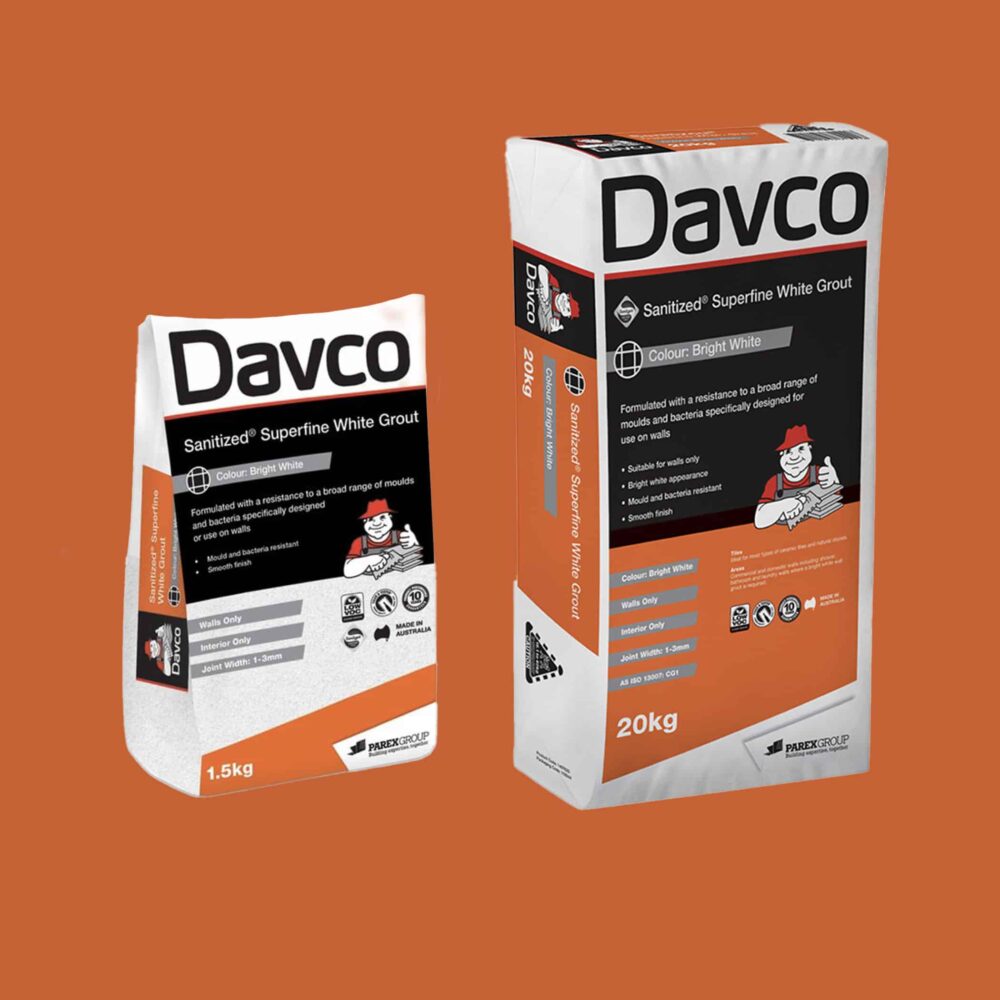
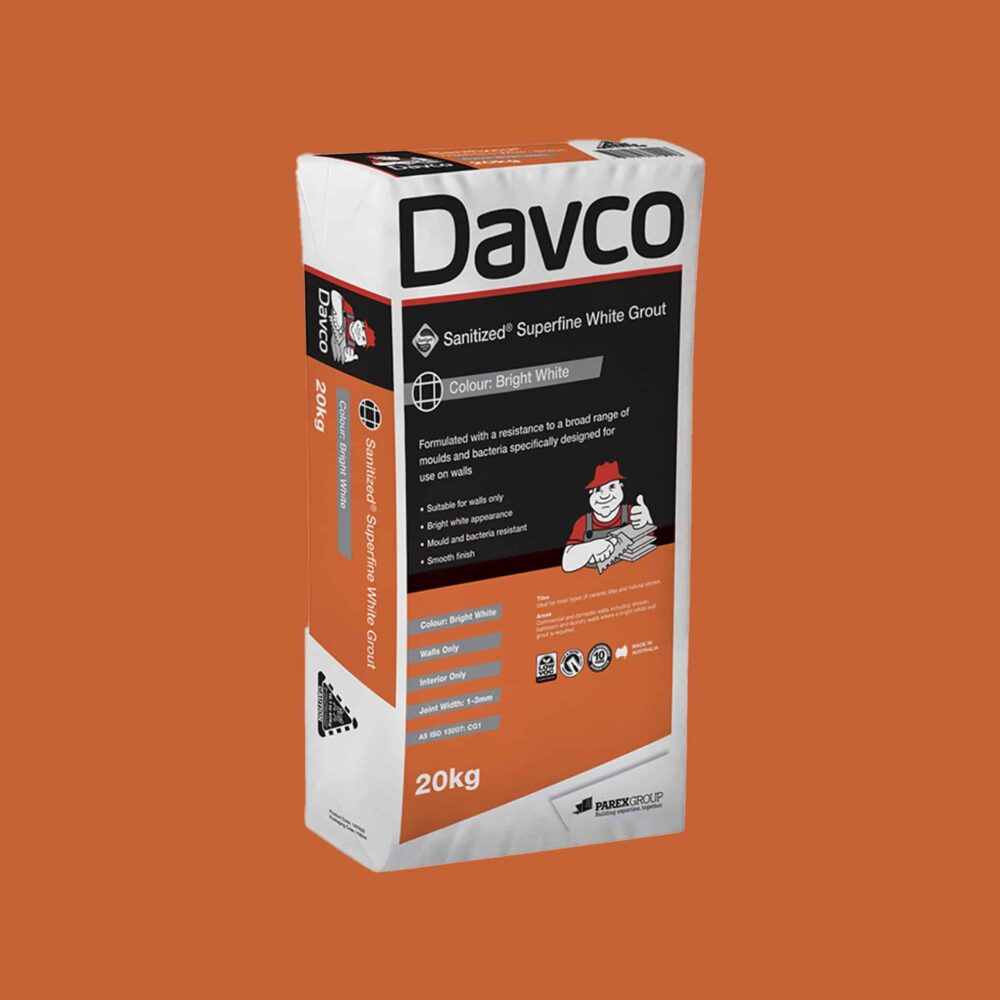
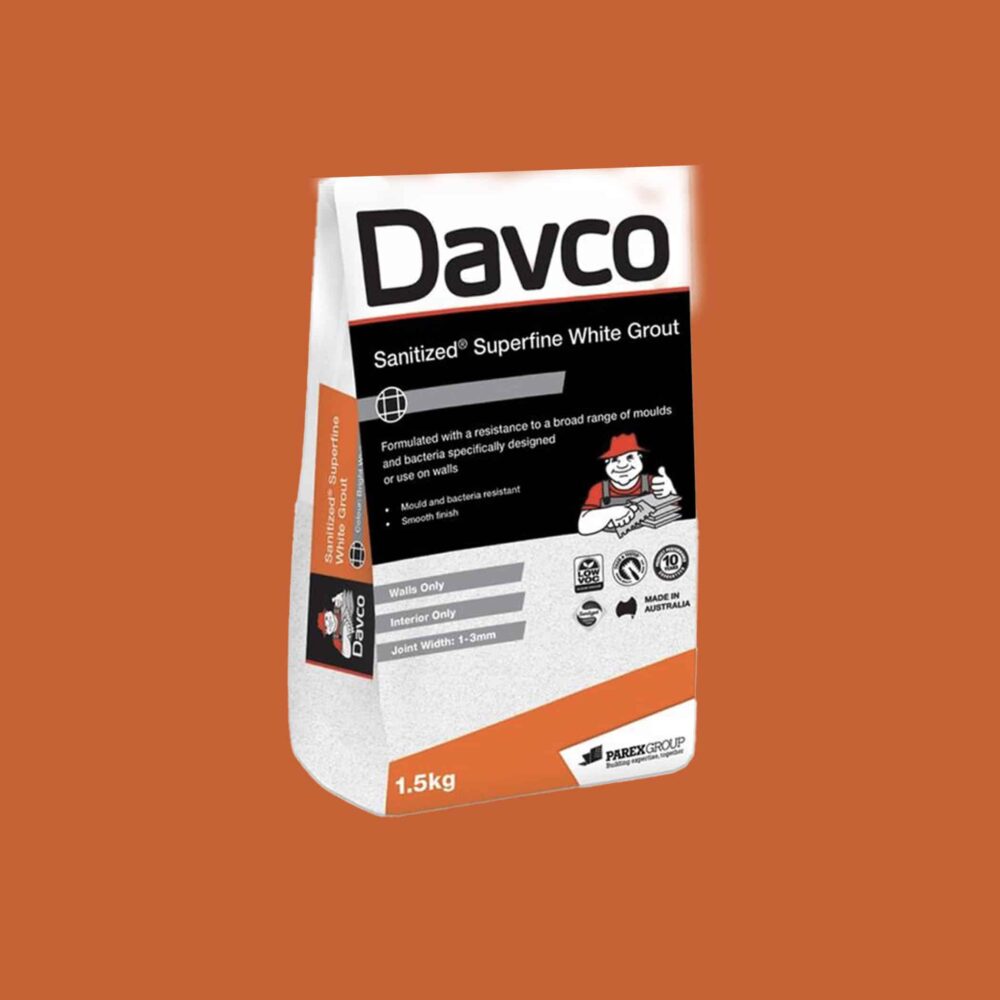
Davco Superfine White Grout
Davco Superfine White Grout is a cement-based grout with a resistance to a broad spectrum of moulds and bacteria specifically designed for walls with 1-3mm joints. Suitable for interior applications. Commercial and domestic walls.
WHERE TO USE Davco Superfine White Grout
Tiles
Davco Superfine White Grout is ideal for most types of ceramic tiles and natural stones.
Areas
Commercial and domestic walls including shower, bathroom and laundry walls where a bright white wall grout is required.
PRODUCT INFORMATION
AS ISO 13007 Classification CG1
VOC Content: Low VOC – 3g/L (SCAQMD method 304-91)
Curing Time: 24 hours at 20°C
FEATURES & BENEFITS
• Suitable for walls only
• Bright white appearance
• Mould and bacteria resistant
• Smooth finish
• For joints 1-3mm
PACKAGING
Available in a 1.5kg, 5kg, 10kg or 20kg bag
SURFACE PREPARATION
• Before commencing grouting, ensure the tile adhesive has set firmly. This usually requires 24 hours with the majority of tile adhesives
• Remove any spacer lugs, rake-out any excess adhesive and any loose or foreign material from the grout joints
• In general, ensure the grout joints are clean and dry.
Coverage
The coverage of the grout will vary depending upon the texture, size and thickness of the tile and the width of the grout joint.
MIX PREPARATION
Mix Process
1. The mixing ratio is 20kg of powder to 5.5-6L of potable water.
2. Add the water to a bucket, then slowly add the Davco Sanitized® Superfine White Grout powder to the water. Stir the mix until a lump-free toothpaste consistency is achieved.
3. Allow the mix to stand for 5 minutes, re-stir, then use the grout.
Note: Where movement is expected, or for superior performance in general applications, use Davco 4 in 1 Grout Additive instead of water alone
APPLICATION
Grouting
1. Prior to grouting it is advisable to lightly dampen the grout joints, particularly with porous tiles or in hot conditions.
2. Using a rubber float or squeegee, work the grout into the joints in a diagonal motion. Make sure the grout is worked into the joint (it should not bridge the joint).
3. Using a diagonal motion remove excess grout from the surface of the tiles with a rubber float or squeegee.
4. Clean up the remainder of the grout with a lightly dampened sponge. Regularly rinse the sponge out to help with cleaning and don’t make it too wet.
5. Leave the grout to cure for 24 hours before cleaning the haze off with a dry cloth.
Clean-up & Return to Service
• Tools and surrounding areas should be cleaned up with water while grout is still soft and wet
PRECAUTIONS
Safety
• SDS is available from www.davcoaustralia.com.au
• Only use in temperatures between 5°C and 40°C Specific
• Not suitable for use in harsh and demanding environments or other areas where there are hygiene regulations.
Davco Epoxy Grout should be used for these installations:
• Cleaning or discolouration problems may occur when used with textured, porous or natural stone tiles
• Do not use on floors
• Do not use on submerged applications including pools, ponds, spas or water features
• Do not use in movement joints. Davco Elite Silicone is more suitable in movement joints
• Product may be weakened or damaged when exposed to neat or strong acids
• For other uses not mentioned in these instructions, please visit the davco website.